What is Orion?
Orion is a Kubernetes cluster built from Raspberry Pi computers. It serves as the infrastructure for my projects, and throughout this series I’ll share how I build, configure, and use it.
Managed solutions such as Amazon EKS are convenient alternatives, but I wanted to build and operate the cluster myself. This is also a learning project, so I’m avoiding tools such as KIND and Minikube. Instead, I’m drawing inspiration from the official Kubernetes documentation and Kubernetes the Hard Way by Kelsey Hightower.
Components
Raspberry Pi
The Raspberry Pi 5 is a small single-board computer built around the RP1 I/O controller and a quad-core ARM processor. In simple terms, it is a compact computer with its own CPU, RAM, and persistent storage (if you configure it).
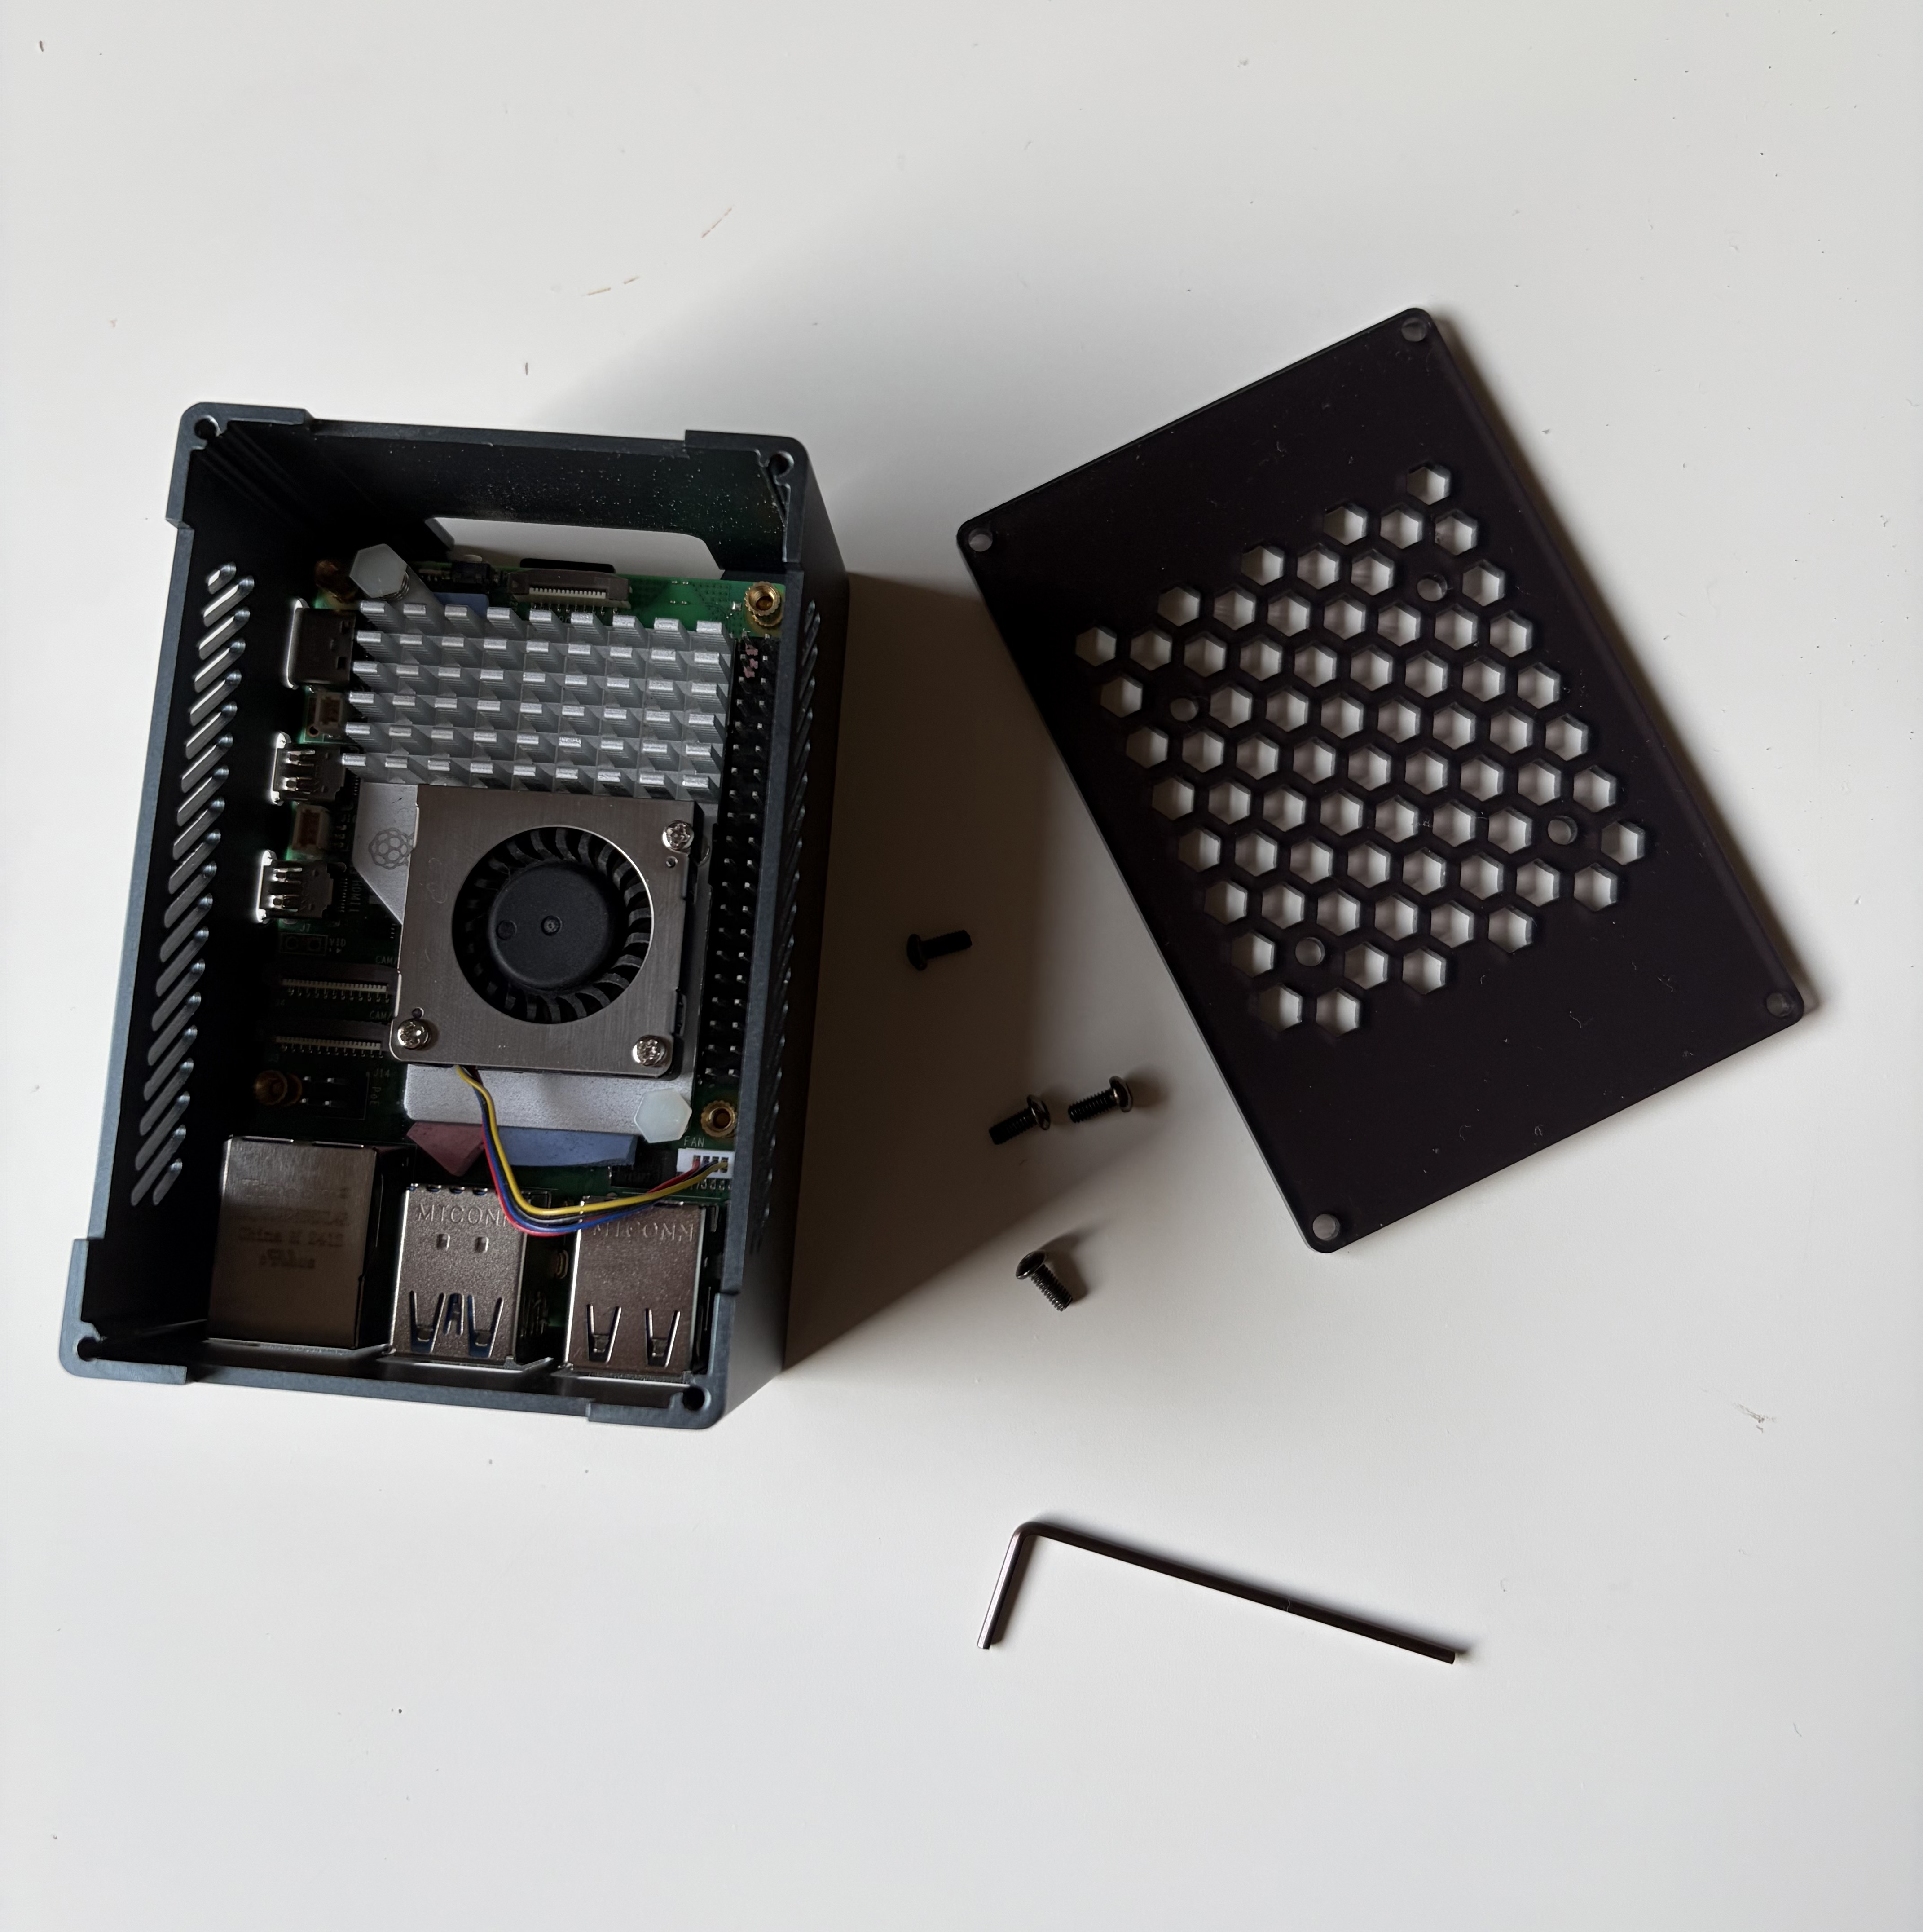
For this cluster, I am using three Raspberry Pi 5 boards. I bought them during a sale more than three years ago: one has 8 GB of RAM and the other two have 4 GB each. I plan to use the 8 GB board as the control-plane node and the two 4 GB boards as worker nodes. The 8 GB board also hosts some of my other projects and professional work.
Frame, fans, and heatsinks
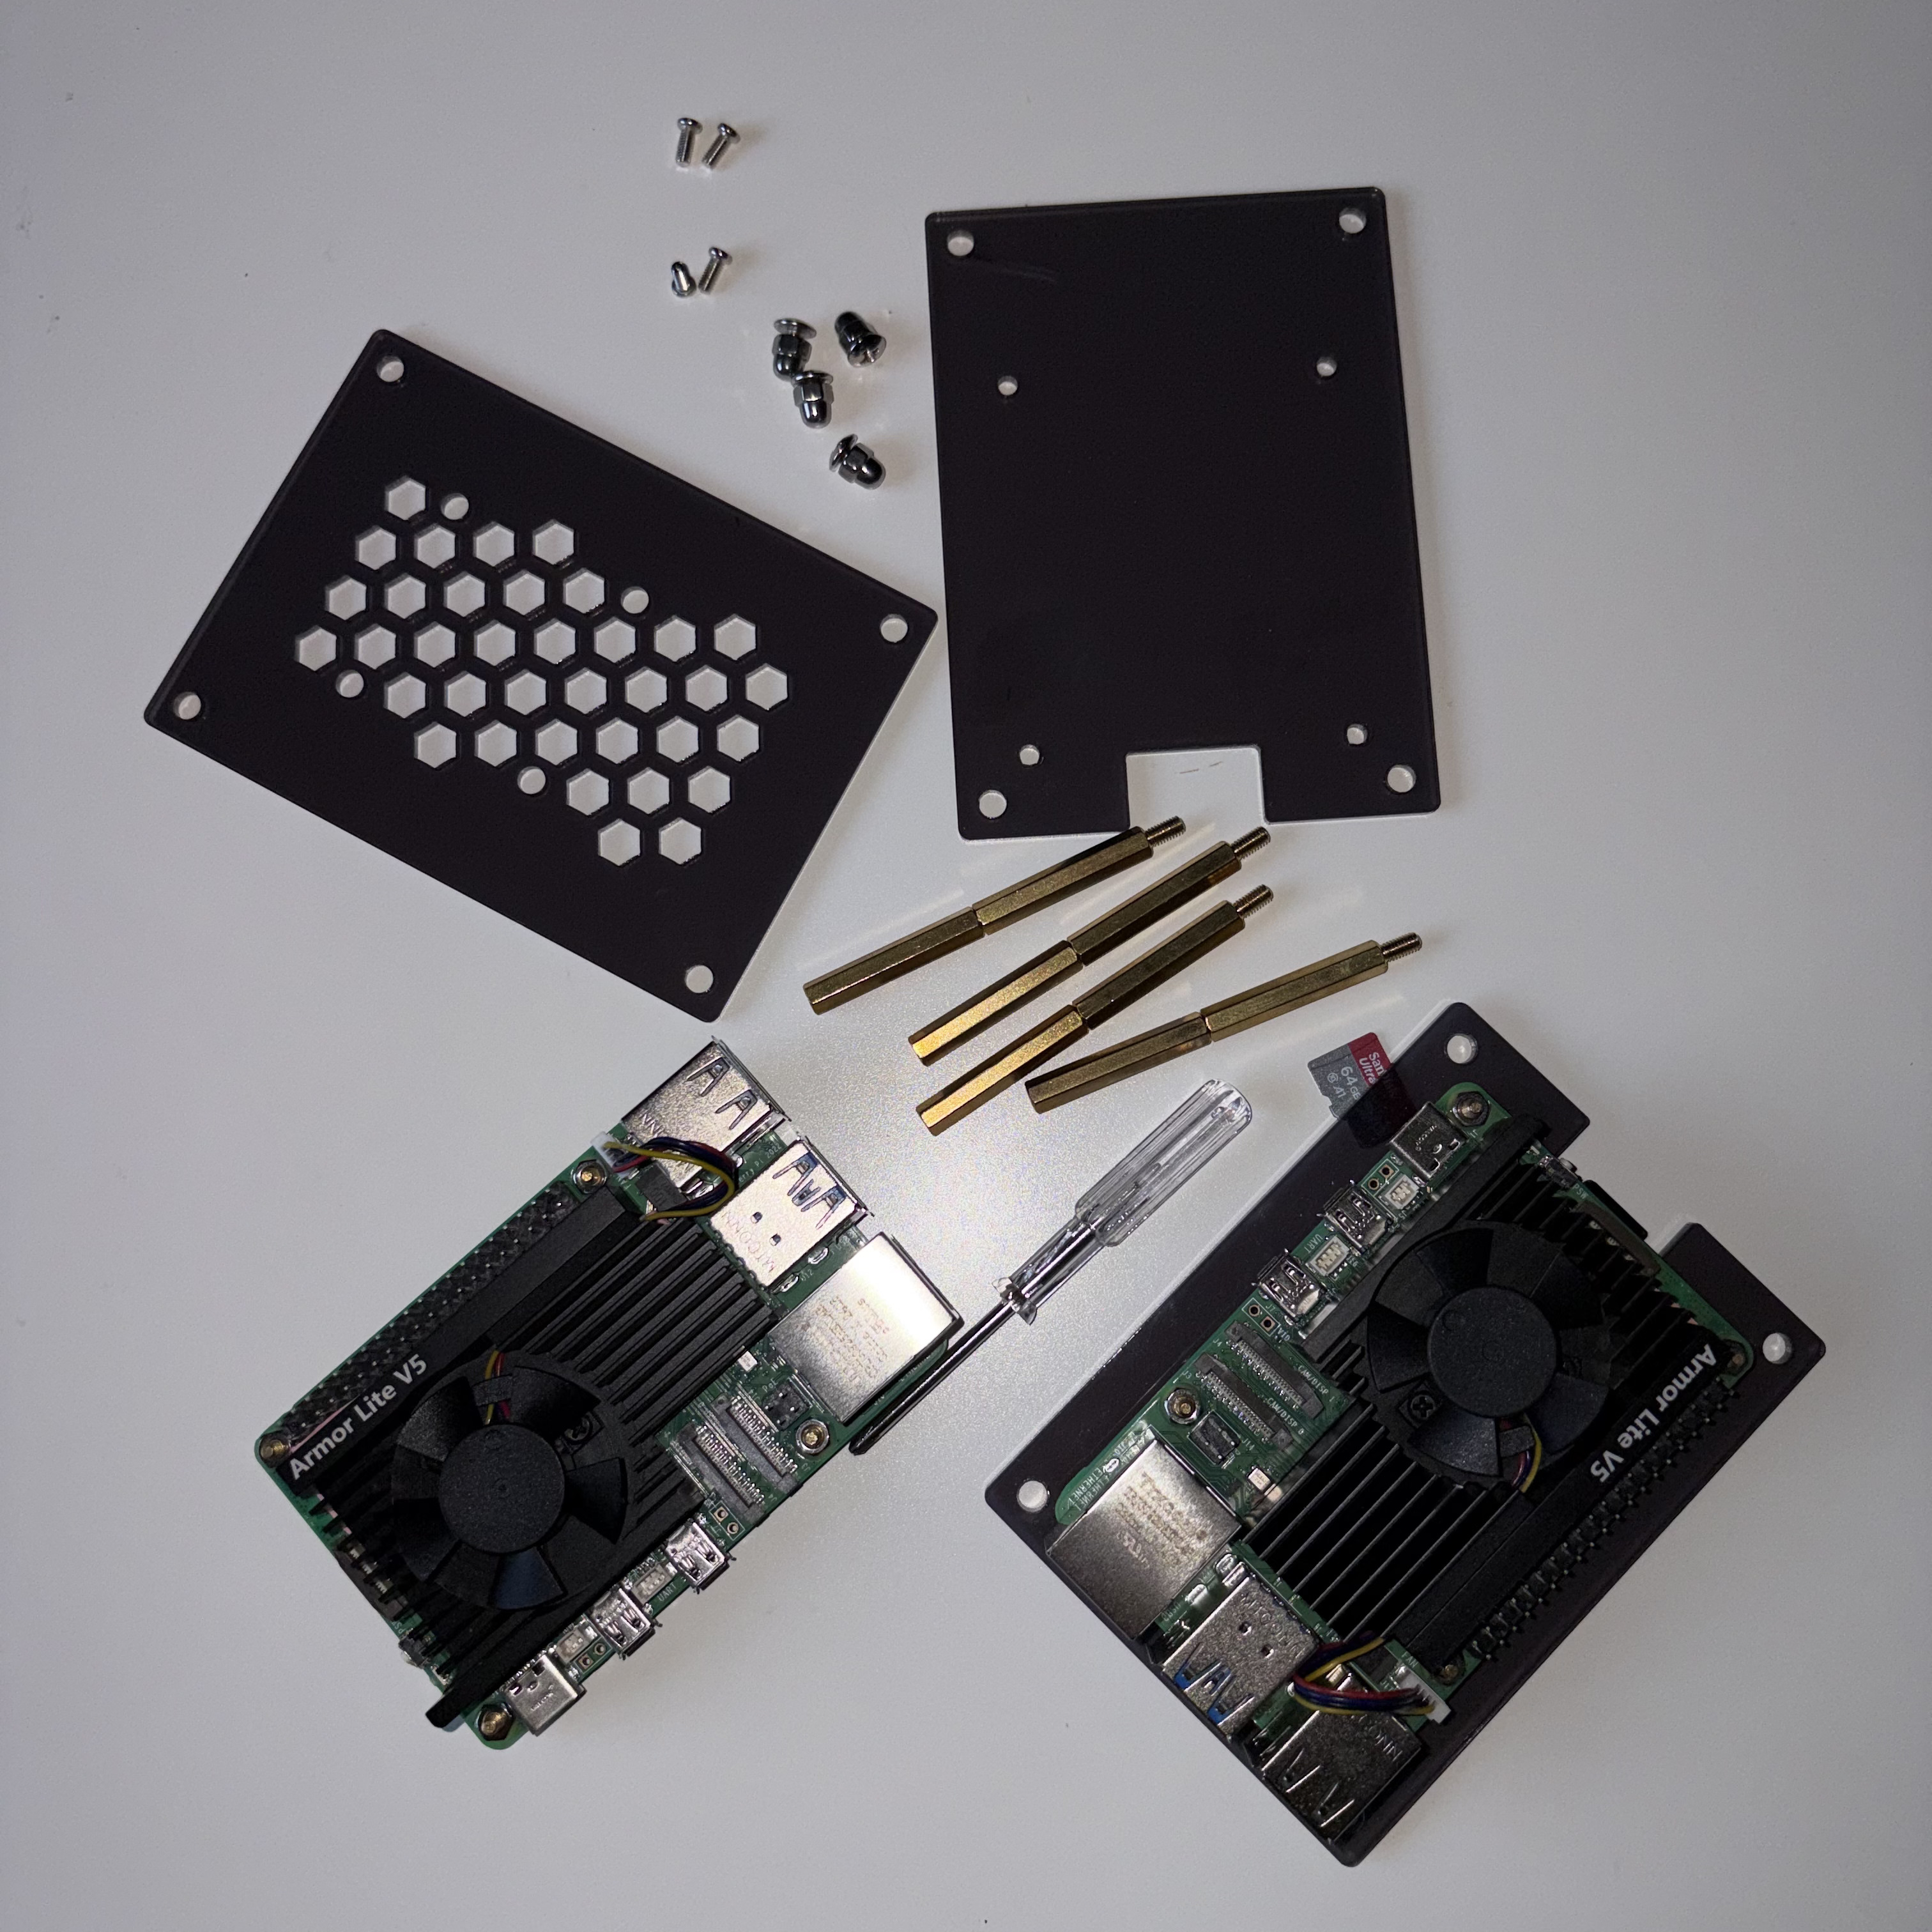
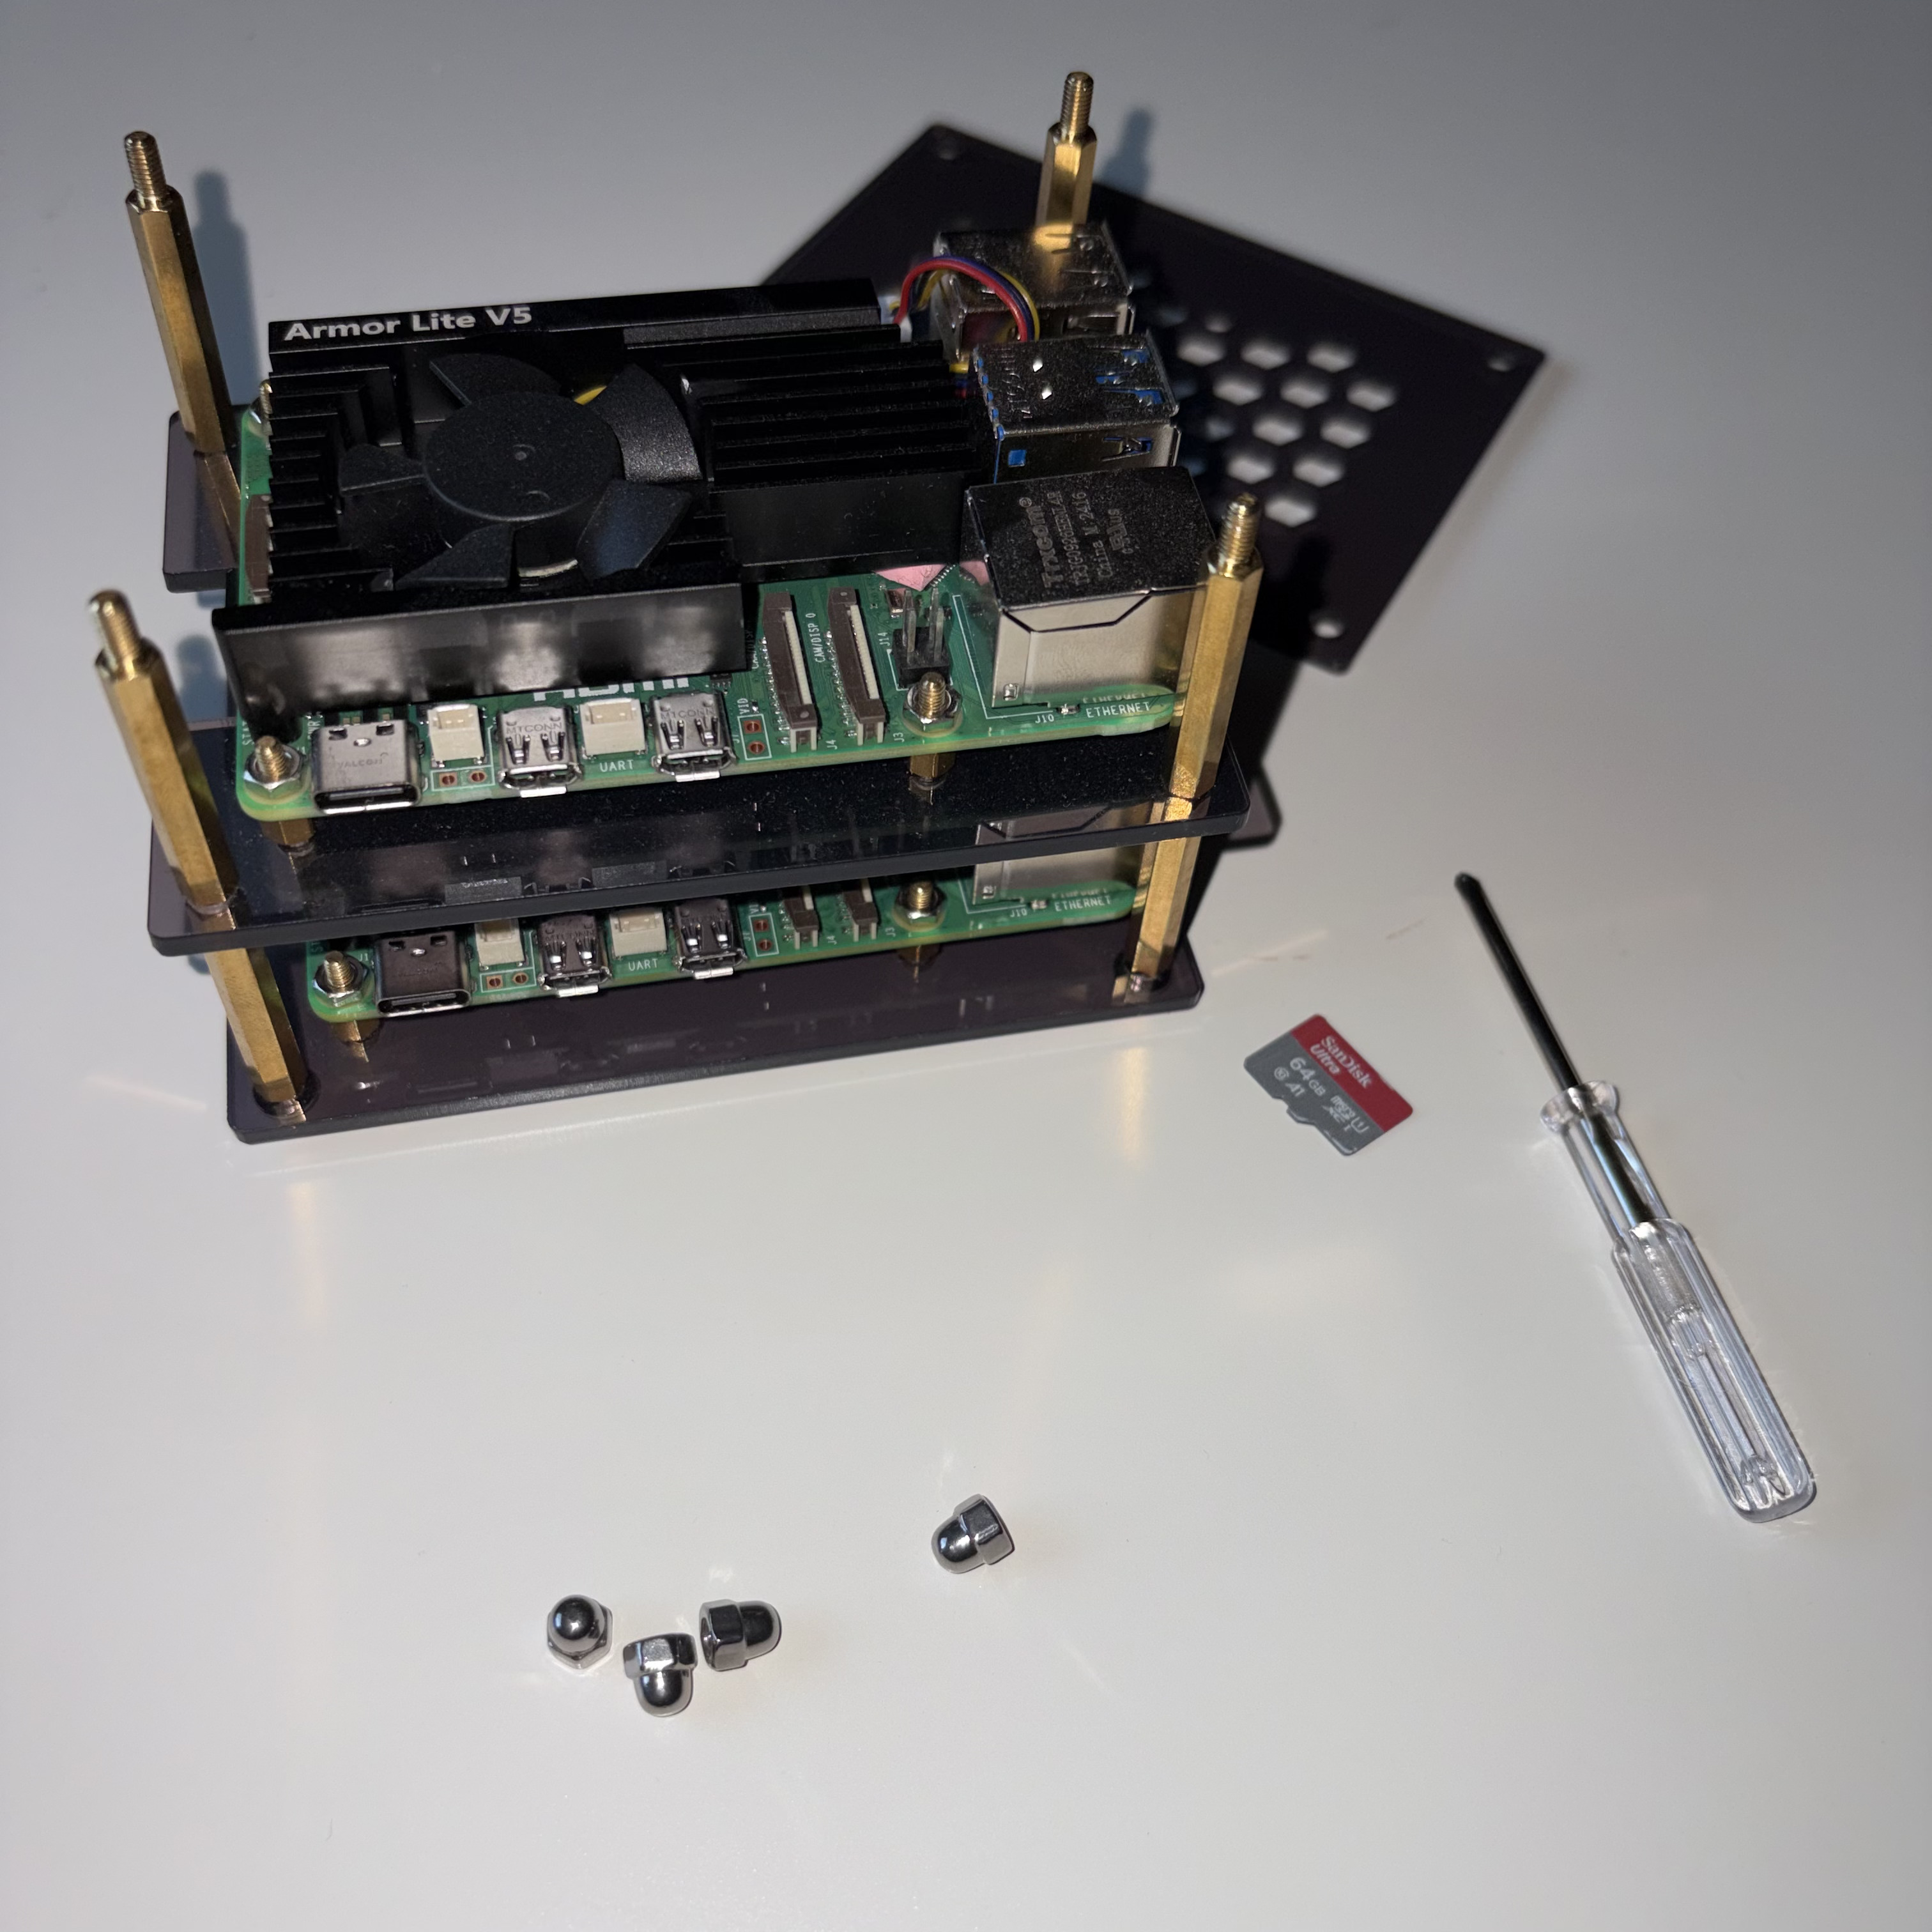
For the two worker nodes, I am using a GeeekPi frame with Armor Lite V5 smart heatsink fans. The fans adjust their speed according to the CPU temperature. While assembling the boards, I also added some thermal paste left over from an earlier PC build.
The fans are quiet, and the frame does not include flashy LEDs. It may look boring, but it is simple and functional. One day, I would like to 3D-print a frame of my own.
Power and persistent storage
To keep the setup simple and affordable, I am using a 64 GB SD card for each board. That should be enough for the current setup. As the cluster grows, I may attach a larger SSD for additional storage.
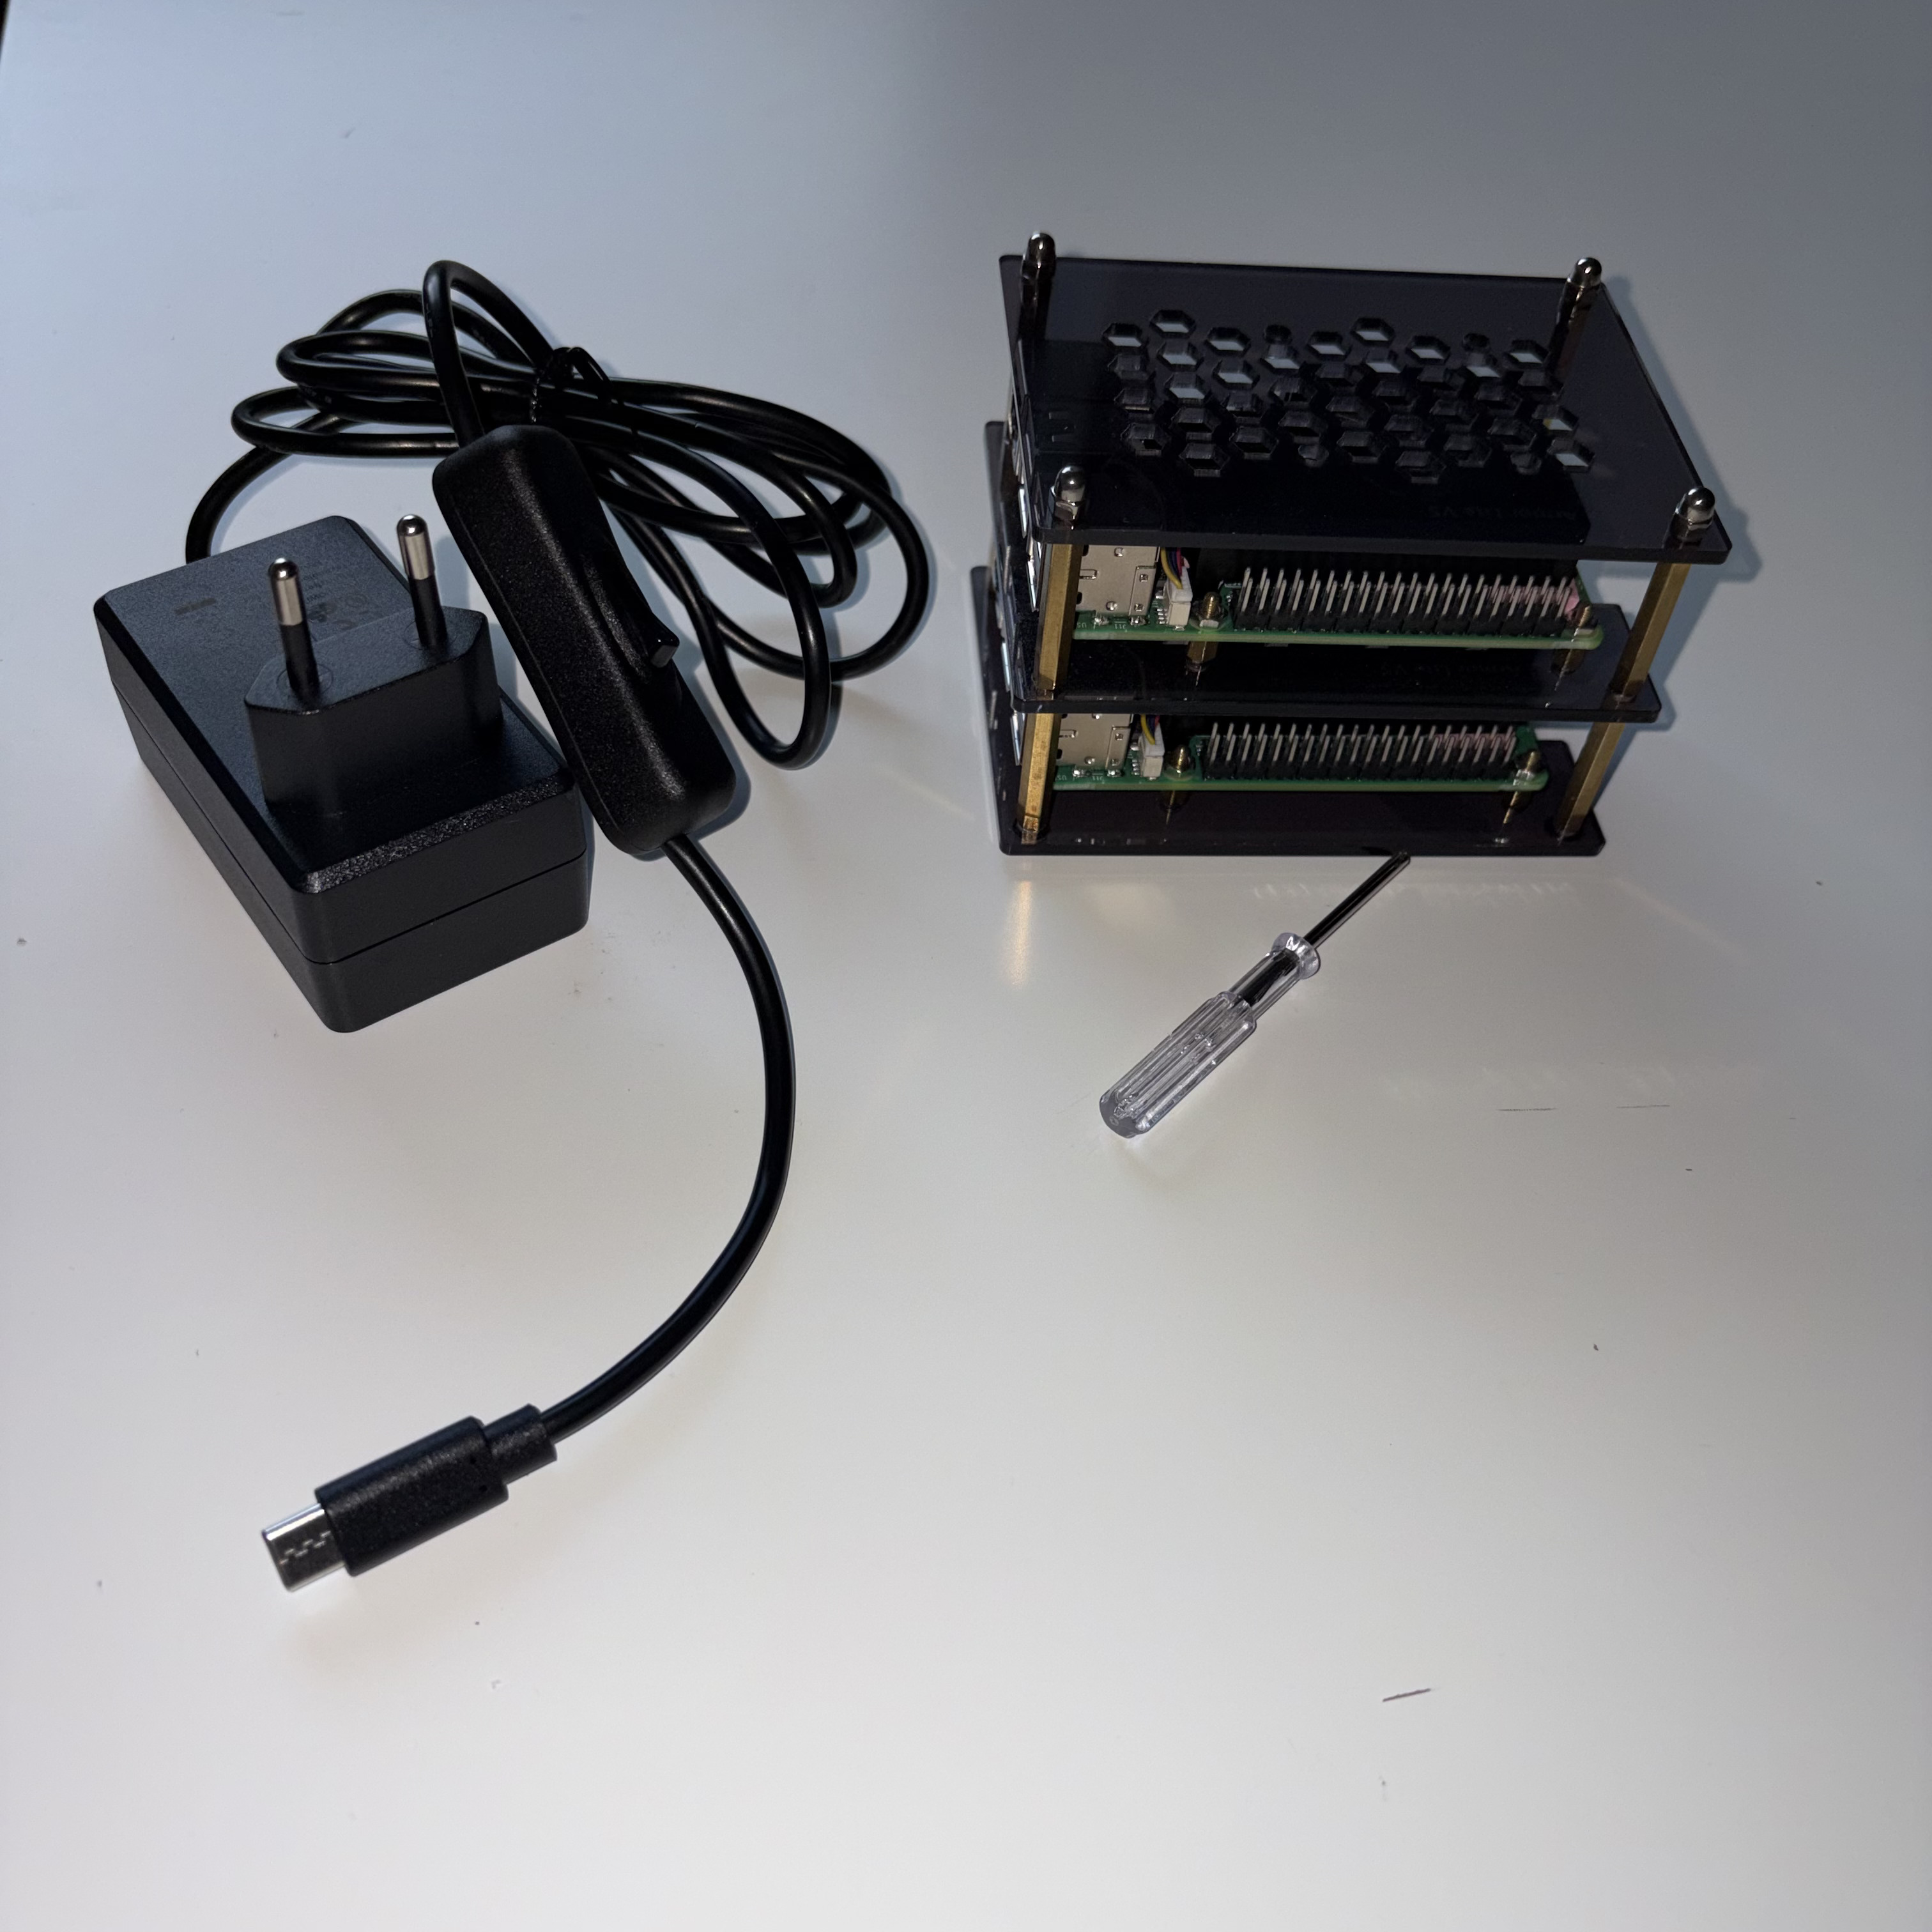
For power, I am using adapters with manual switches. Being able to switch a Pi off is more convenient than unplugging the adapter from the wall. The setup is currently cable-based, but I may eventually move to a Power over Ethernet switch to simplify the wiring.
Flashing the operating system
Before starting this section, download the Raspberry Pi Imager.
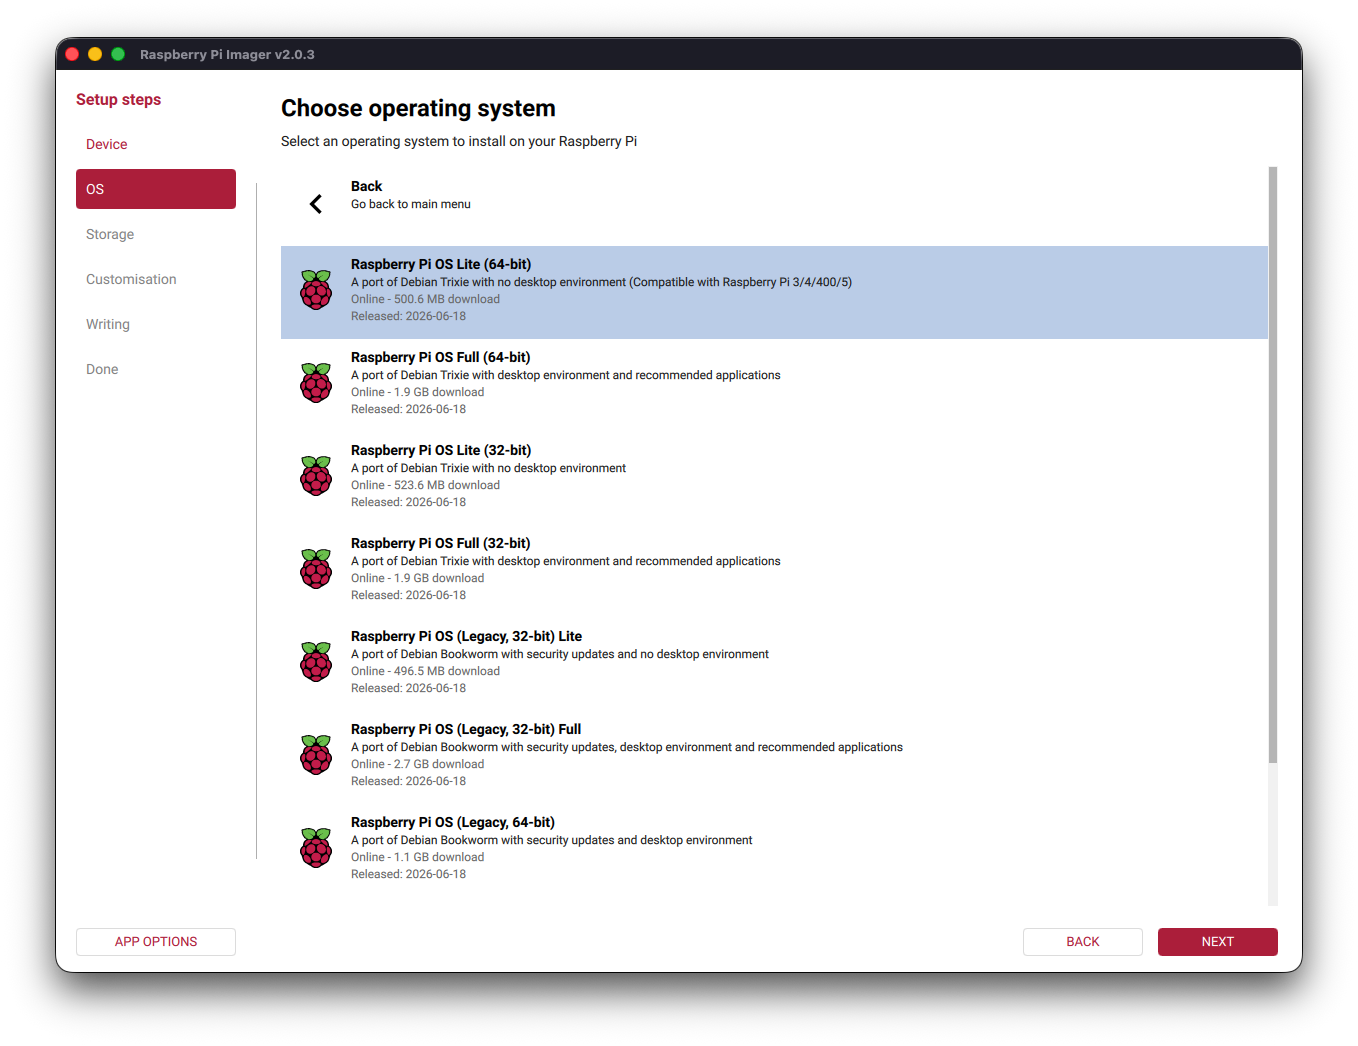
The first step in preparing each node is to install Raspberry Pi OS Lite. I’m using the Raspberry Pi OS Lite (64-bit) edition because it does not include a desktop environment and the nodes will be managed remotely. It is Debian-based, which is the distribution family I am most comfortable with, and it works well out of the box. I may set up Alpine or Fedora later.
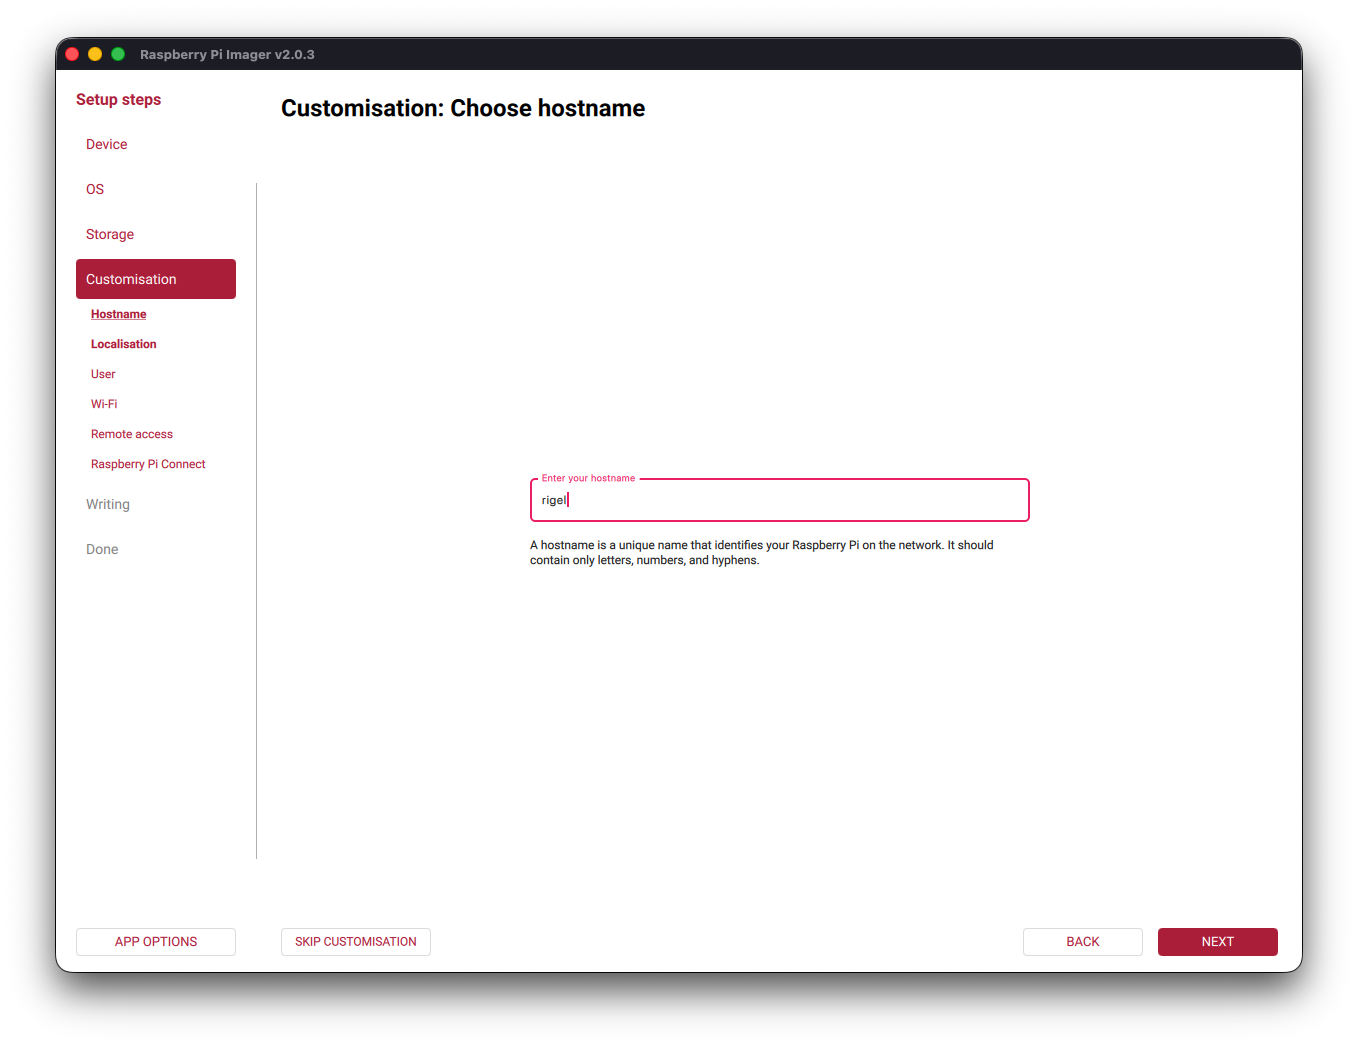
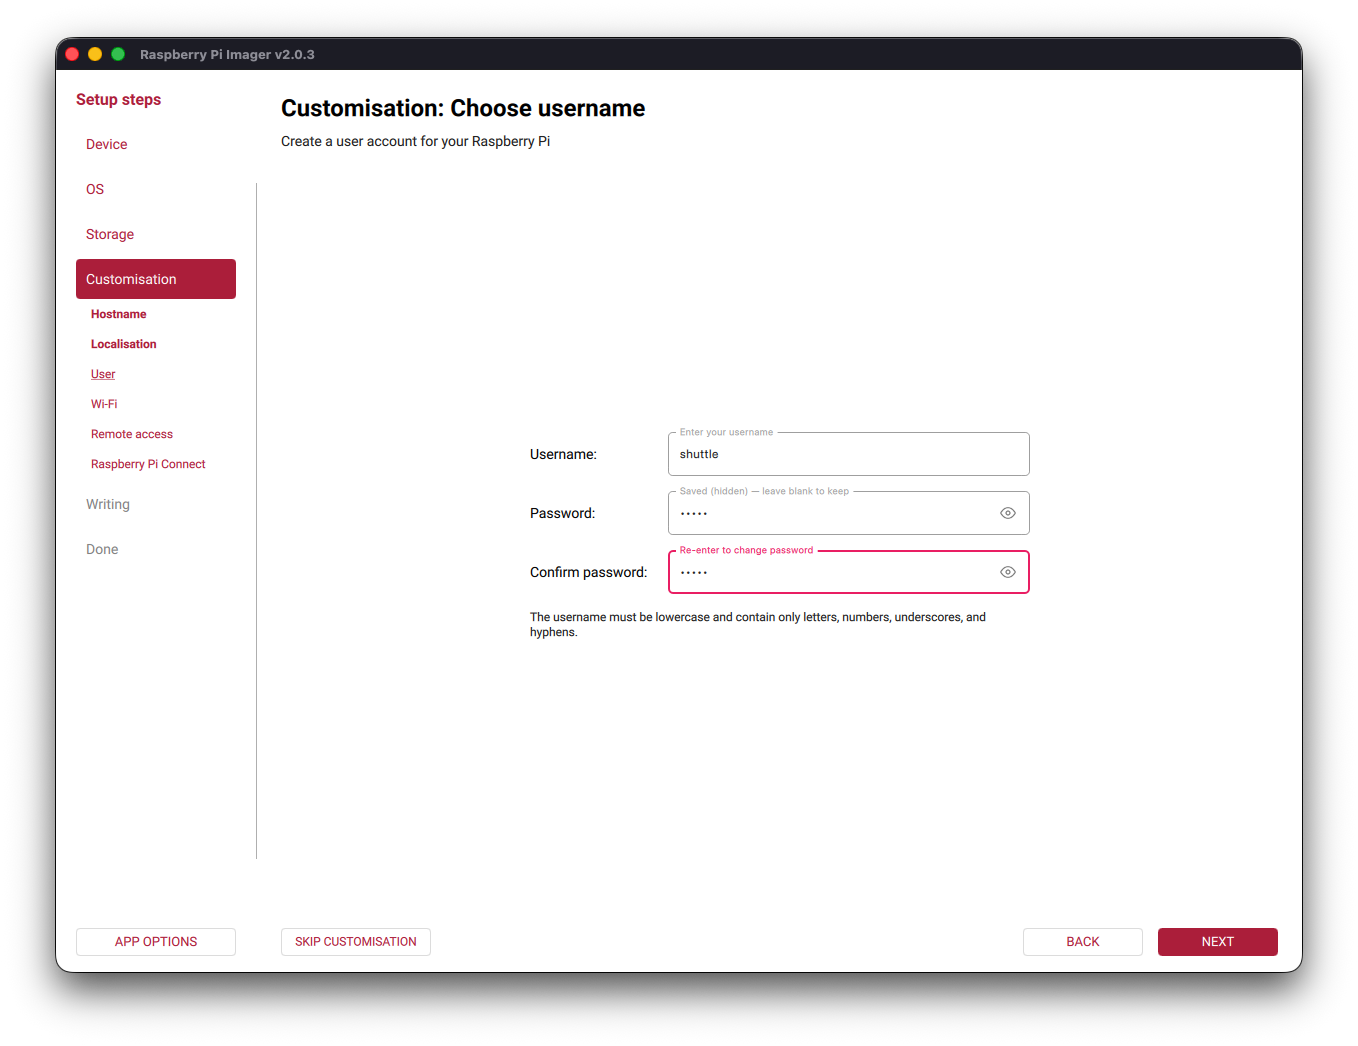
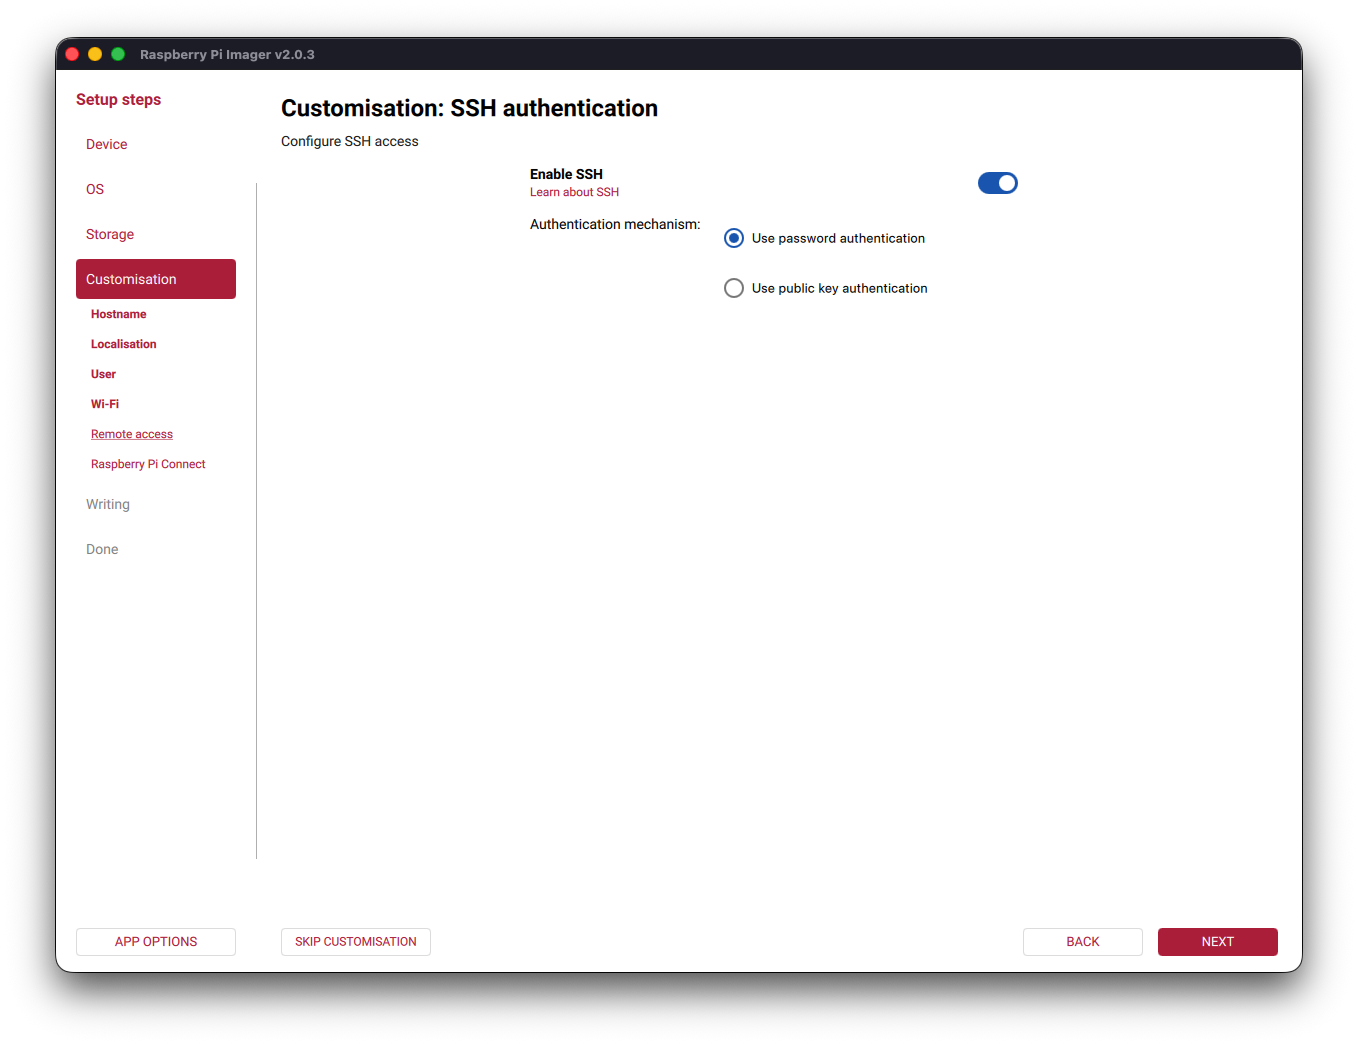
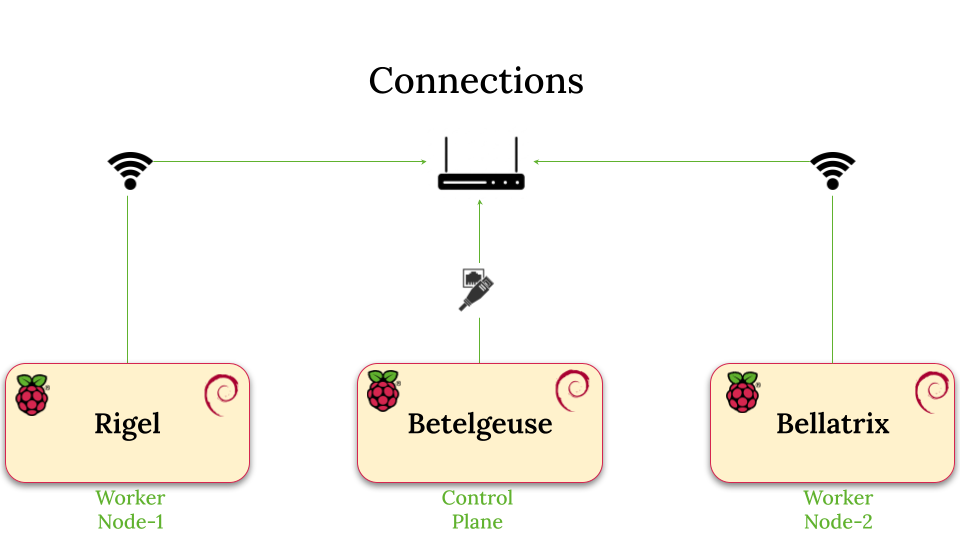
During the setup, I specify the hostname and create the user credentials that I will use to connect to each Pi over SSH. I will configure passwordless authentication later. At this stage, the Pis are not connected to one another through a network switch; they connect through my home router instead. To keep the network configuration stable after reboots, I have reserved an IP address for each Pi based on its MAC address using router’s DHCP reservation setting. This ensures that each node keeps the same IP address after restarting (ref).
Verifying the network connection
Before continuing, I verify that the Pis are reachable over the network. From my computer, I use ping to check the IP address assigned to each node:
Ping Rigel
ping -c 4 192.168.1.132PING 192.168.1.132 (192.168.1.132): 56 data bytes
64 bytes from 192.168.1.132: icmp_seq=0 ttl=64 time=39.909 ms
64 bytes from 192.168.1.132: icmp_seq=1 ttl=64 time=4.699 ms
64 bytes from 192.168.1.132: icmp_seq=2 ttl=64 time=5.611 ms
64 bytes from 192.168.1.132: icmp_seq=3 ttl=64 time=5.396 ms
--- 192.168.1.132 ping statistics ---
4 packets transmitted, 4 packets received, 0.0% packet loss
round-trip min/avg/max/stddev = 4.699/13.904/39.909/15.018 msPing Bellatrix
ping -c 4 192.168.1.142PING 192.168.1.142 (192.168.1.142): 56 data bytes
64 bytes from 192.168.1.142: icmp_seq=0 ttl=64 time=24.802 ms
64 bytes from 192.168.1.142: icmp_seq=1 ttl=64 time=5.003 ms
64 bytes from 192.168.1.142: icmp_seq=2 ttl=64 time=5.387 ms
64 bytes from 192.168.1.142: icmp_seq=3 ttl=64 time=5.164 ms
--- 192.168.1.142 ping statistics ---
4 packets transmitted, 4 packets received, 0.0% packet loss
round-trip min/avg/max/stddev = 5.003/10.089/24.802/8.496 msA successful response confirms that the node is connected and reachable. The output should look similar to the examples above.
If you do not know a Pi’s IP address, you can use multicast DNS (mDNS) to resolve the address from its hostname:
Ping Rigel
ping -c 4 rigel.localPING rigel.local (192.168.1.132): 56 data bytes
64 bytes from 192.168.1.132: icmp_seq=0 ttl=64 time=2.399 ms
64 bytes from 192.168.1.132: icmp_seq=1 ttl=64 time=5.356 ms
64 bytes from 192.168.1.132: icmp_seq=2 ttl=64 time=5.701 ms
64 bytes from 192.168.1.132: icmp_seq=3 ttl=64 time=5.420 ms
--- rigel.local ping statistics ---
4 packets transmitted, 4 packets received, 0.0% packet loss
round-trip min/avg/max/stddev = 2.399/4.719/5.701/1.346 msIf the Pi was flashed with the correct hostname, and your computer has an mDNS service such as Avahi on Linux or Bonjour on macOS, hostname.local should resolve automatically to the Pi’s IP address. You can replace hostname with the name of any other node on the network.
Why Orion?
The name is a small tribute to my fascination with space. Orion is one of the most recognisable constellations in the night sky during winter. Each node in the cluster is named after one of its bright stars i.e. Betelgeuse, Rigel, and Bellatrix.
The hardware I used
These are the components I used to assemble Orion. The links are provided for reference and are not affiliate links. Availability and prices may vary by location. I bought the components from Amazon Spain and other local retailers.
- Raspberry Pi 5: one 8 GB board and two 4 GB boards.
- Pi cluster frame: a frame for the worker nodes.
- Pi case: a case for the control-plane node.
- Armor Lite fans: smart fans with large heatsink plates that adjust their speed according to temperature.
- Power supplies: adapters with on/off switches.
- 64 GB SD cards: one for each node, which is enough for the current Raspberry Pi OS Lite setup.
Have thoughts, questions, or suggestions? I’d love to hear them.