Why use a Raspberry Pi?
Many of us have considered buying dedicated hosting from commercial providers such as Hostinger. These services are easy to set up, often requiring only a few clicks, but they abstract away much of the underlying infrastructure. That convenience comes with a monthly subscription and limits how much control you have over the system.
Hosting services on hardware that you own gives you greater control and a stronger sense of ownership. The main ongoing cost is electricity, and a Raspberry Pi keeps that cost low because of its small size and modest power requirements. It is also compact enough to move easily if needed.
For some of my freelance work, I host static websites on a Raspberry Pi, and so far it has worked reliably. In this article, I’ll set up a Raspberry Pi as a dedicated host for a simple static website using containers.
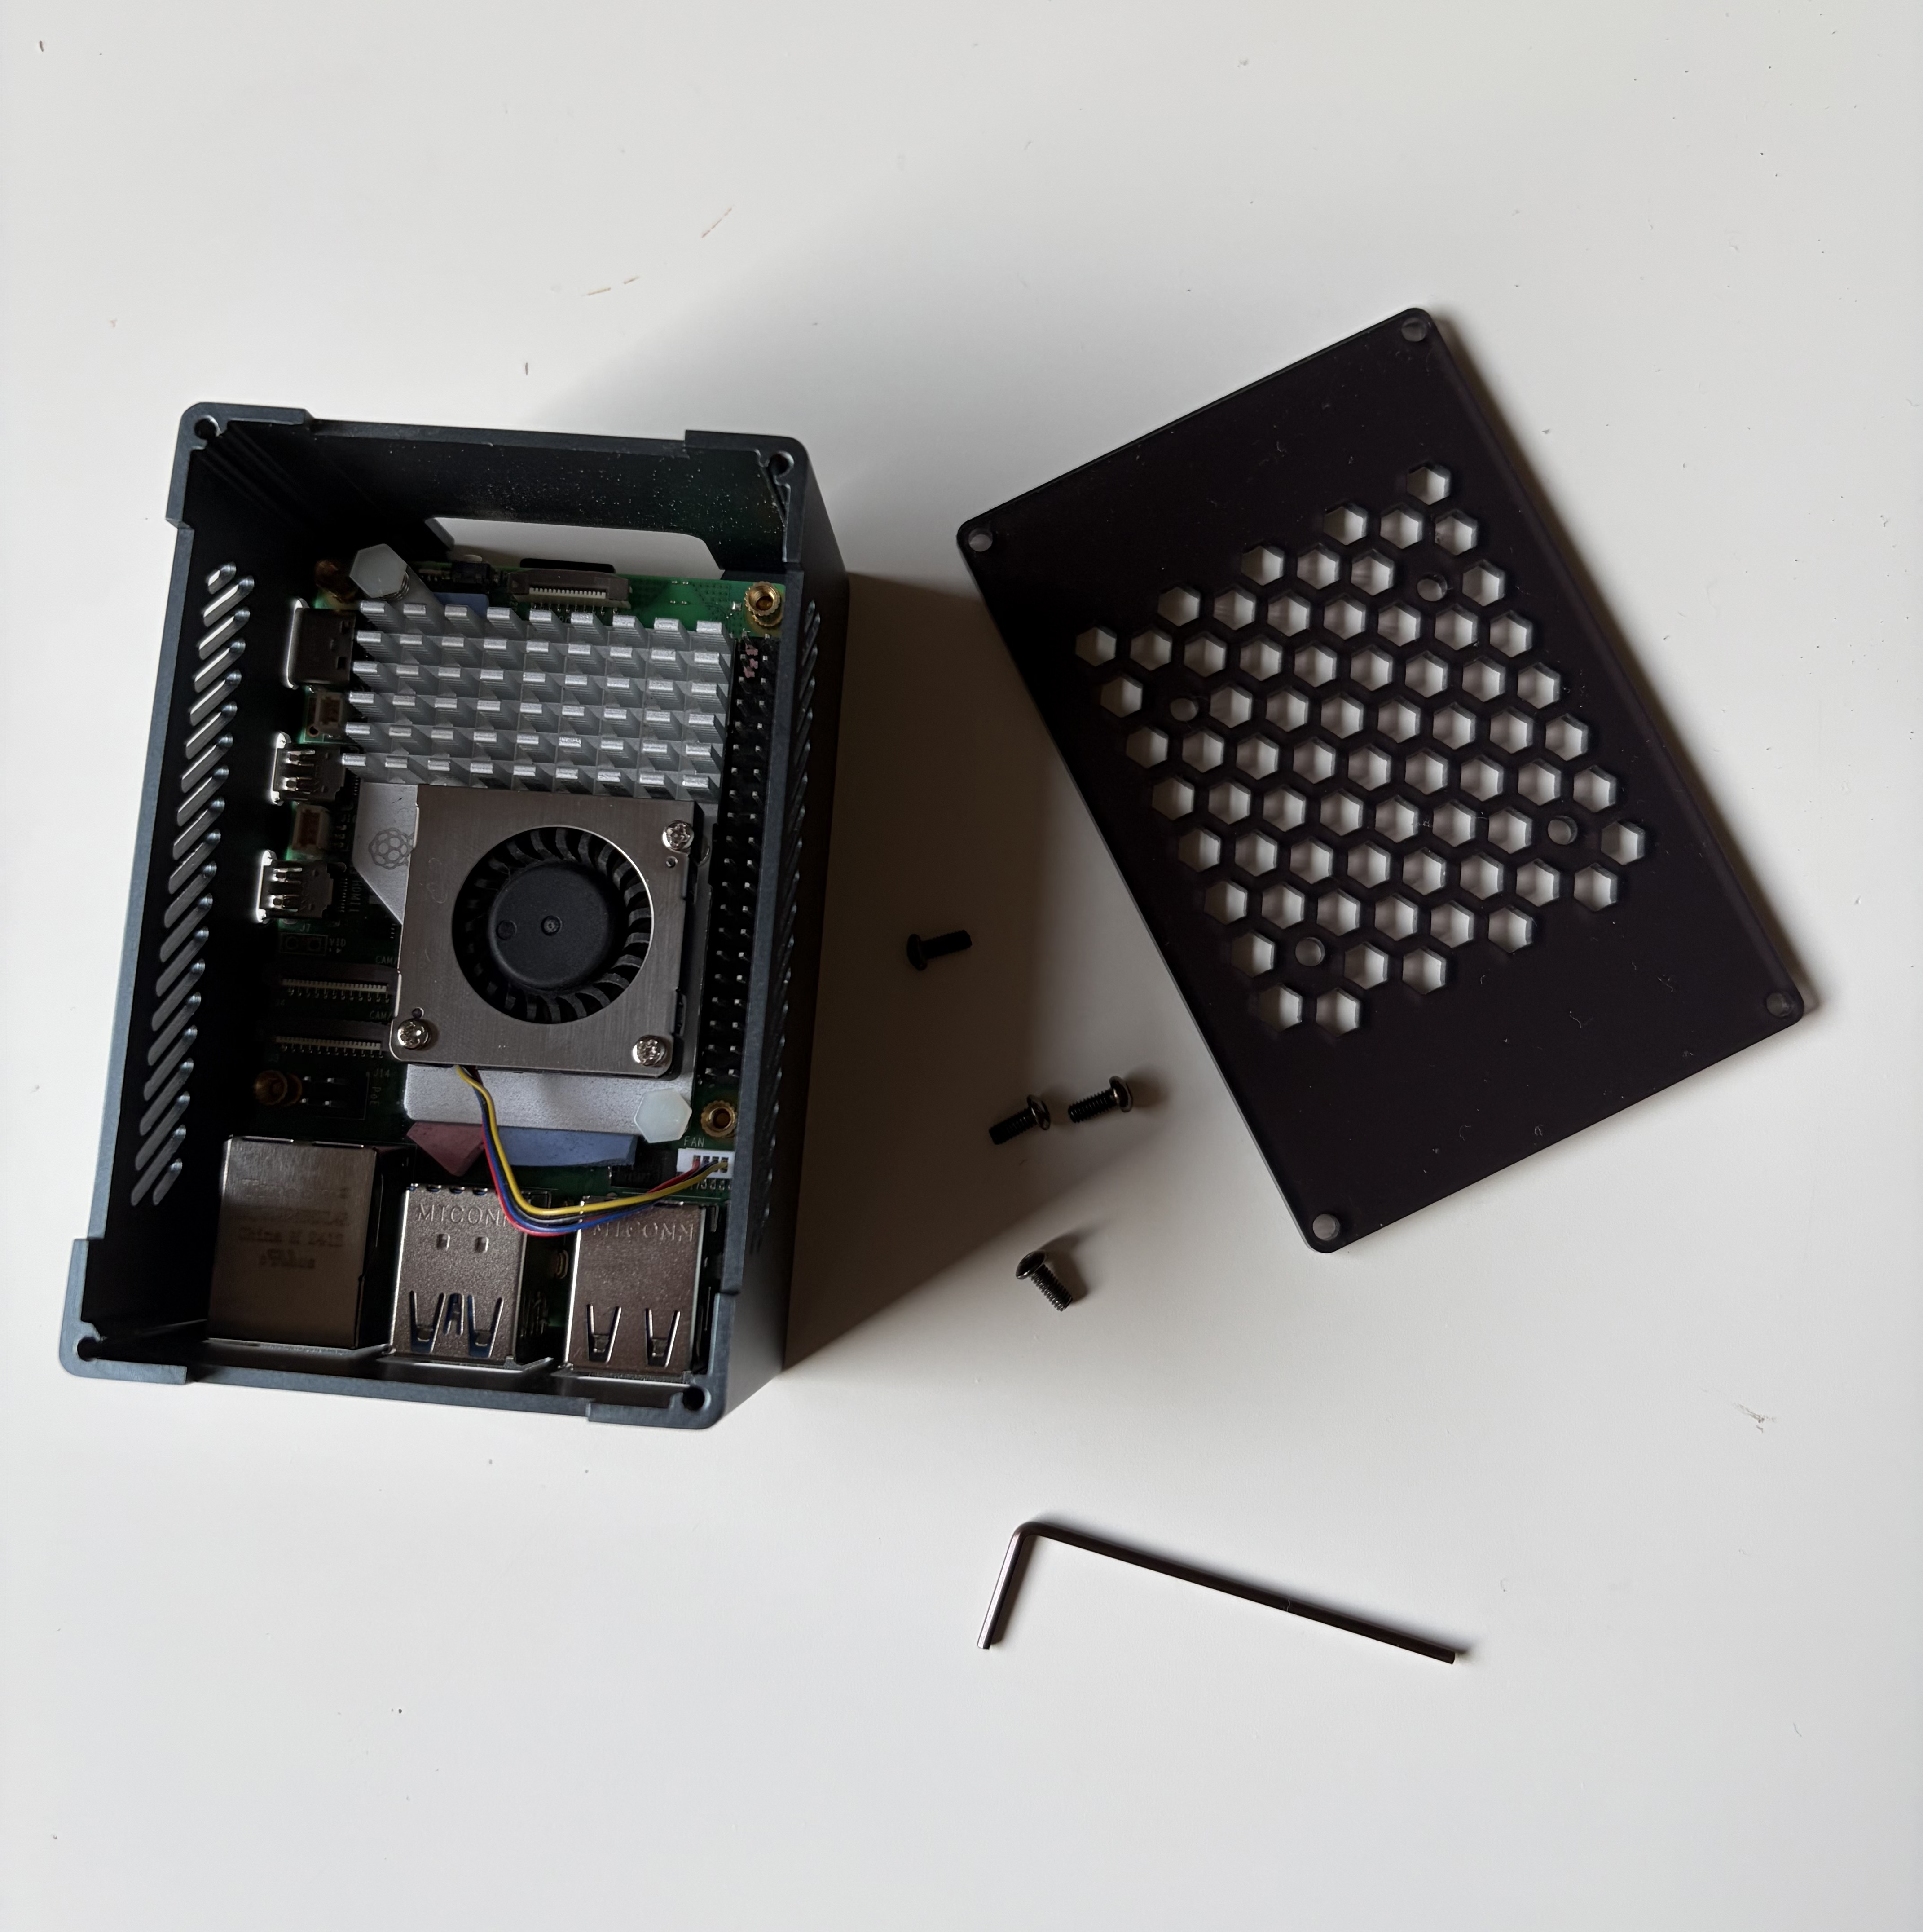
Setting up a server
Installing Podman
Podman is a widely used open-source alternative to Docker. It is daemonless and supports rootless containers. I prefer to keep services isolated, even when I am setting up something as simple as a static website. Containers give me more control over the service lifecycle and make it easier to run multiple applications on the same machine.
Let’s begin by installing Podman:
sudo apt-get -y install podmanWe can verify the installation by checking the installed version:
podman --versionpodman version 5.4.2I won’t cover every detail of Podman configuration in this post. The goal is to get a server running quickly and make it available on the local network. We can harden and expose it to the internet later.
Pulling the Nginx image
Next, I pull the official Nginx image from the Docker registry. I specify the complete image name, including the registry, so that the image source is explicit:
podman pull docker.io/library/nginx:alpineTrying to pull docker.io/library/nginx:alpine...
Getting image source signatures
Copying blob 2386d276a8b4 done
Copying blob 295820e5f973 done
Copying blob feb2bb8dc4c0 done
Copying blob 5de55e5ef9c0 done
Copying blob 99cbb2a14c55 done
Copying blob e29d26d8a8f0 done
Copying blob 20da4803ae7b done
Copying blob 57dd8e2239f2 done
Copying blob 4fefe10ae937 done
Copying config d84ae2e1b8 done
Writing manifest to image destination
d84ae2e1b83a8d9167a250efe5183b07dfc3cbf1b00c66084b4994d2b12edd48Once the image has been downloaded, I can confirm that it is available locally by listing the images:
podman imagesREPOSITORY TAG IMAGE ID CREATED SIZE
docker.io/library/nginx alpine 727003a26923 2 days ago 69.6 MB
As a quick sanity check, I start the container with podman run and map port 8081 on the host to port 80 inside the container:
podman run -p 8081:80 docker.io/library/nginx:alpine/docker-entrypoint.sh: /docker-entrypoint.d/ is not empty, will attempt to perform configuration
/docker-entrypoint.sh: Looking for shell scripts in /docker-entrypoint.d/
/docker-entrypoint.sh: Launching /docker-entrypoint.d/10-listen-on-ipv6-by-default.sh
10-listen-on-ipv6-by-default.sh: info: Getting the checksum of /etc/nginx/conf.d/default.conf
10-listen-on-ipv6-by-default.sh: info: Enabled listen on IPv6 in /etc/nginx/conf.d/default.conf
/docker-entrypoint.sh: Sourcing /docker-entrypoint.d/15-local-resolvers.envsh
/docker-entrypoint.sh: Launching /docker-entrypoint.d/20-envsubst-on-templates.sh
/docker-entrypoint.sh: Launching /docker-entrypoint.d/30-tune-worker-processes.sh
/docker-entrypoint.sh: Configuration complete; ready for start up
2026/09/04 19:39:09 [notice] 1#1: using the "epoll" event method
2026/09/04 19:39:09 [notice] 1#1: nginx/1.30.4
2026/09/04 19:39:09 [notice] 1#1: built by gcc 15.2.0 (Alpine 15.2.0)
2026/09/04 19:39:09 [notice] 1#1: OS: Linux 6.18.34+rpt-rpi-2712
2026/09/04 19:39:09 [notice] 1#1: getrlimit(RLIMIT_NOFILE): 524288:524288
2026/09/04 19:39:09 [notice] 1#1: start worker processes
2026/09/04 19:39:09 [notice] 1#1: start worker process 25
2026/09/04 19:39:09 [notice] 1#1: start worker process 26
2026/09/04 19:39:09 [notice] 1#1: start worker process 27
2026/09/04 19:39:09 [notice] 1#1: start worker process 28
I can now open the Nginx welcome page from another device on the same network by visiting the Pi’s local IPv4 address on port 8081. In my case, Betelgeuse has the address 192.168.1.136, so the URL is:
http://192.168.1.136:8081Making the server resilient
At this point, the container runs only while the terminal is active. I could launch it in the background with the -d flag or use tmux, but neither approach automatically starts the container after a reboot. Since this is my own hardware, I need to account for reboots and other interruptions. I could SSH into the Pi and start the container manually, but it would be more convenient if the service restarted automatically.
Enter systemd and Quadlet
Quadlet is a declarative way to define Podman containers as systemd services. It replaces the older podman generate systemd workflow and is recommended for managing Podman containers with systemd. Quadlet allows me to describe the desired container state in a readable configuration file, while systemd handles startup and restarts.
For this example, I will use a rootless configuration. I am using my regular user, shuttle, even though that account has administrative access. This is convenient for the tutorial, but a production setup should use a dedicated account with only the permissions it needs.
For rootless containers, Quadlet files are stored in ~/.config/containers/systemd/. The directory may not exist yet, so I create it with:
mkdir -p ~/.config/containers/systemd/
I then create a file named nginx.container in that directory. The configuration below starts the container after the network is available, restarts it after a failure, and limits its memory usage:
[Unit]
Description=Nginx Service
Wants=network-online.target
After=network-online.target

[Service]
TimeoutStartSec=120
MemoryMax=512M
Restart=always
RestartSec=3

[Container]
Image=docker.io/library/nginx:alpine
ContainerName=nginx
PublishPort=8081:80

[Install]
WantedBy=default.target
After saving the file, I reload the user-level systemd manager and start the generated service:
systemctl --user daemon-reload
systemctl --user start nginx.service
systemctl --user status nginx.service● nginx.service - Nginx Service
Loaded: loaded (/home/shuttle/.config/containers/systemd/nginx.container; generated)
Active: active (running) since Sat 2026-09-05 17:51:23 CEST; 5s ago
Invocation: 1f9c3504ab6541faa0bb5855565f5143
Main PID: 2792 (conmon)
Tasks: 7 (limit: 9626)
CPU: 134ms
CGroup: /user.slice/user-1000.slice/[email protected]/app.slice/nginx.service
├─libpod-payload-a8da476b18c4df223dc154001162b773c7a8a8a29a59c9938ebeaa0f4ca4bc8e
│ ├─2794 "nginx: master process nginx -g daemon off;"
│ ├─2820 "nginx: worker process"
│ ├─2821 "nginx: worker process"
│ ├─2822 "nginx: worker process"
│ └─2823 "nginx: worker process"
└─runtime
├─2790 /usr/bin/pasta --config-net -t 8081-8081:80-80 --dns-forward 169.254.1.1 -u none -T none -U none --no-map-gw ->
└─2792 /usr/bin/conmon --api-version 1 -c a8da476b18c4df223dc154001162b773c7a8a8a29a59c9938ebeaa0f4ca4bc8e -u 2792
Sep 05 17:51:23 betelgeuse nginx[2792]: 2026/09/05 15:51:23 [notice] 1#1: using the "epoll" event method
Sep 05 17:51:23 betelgeuse nginx[2792]: 2026/09/05 15:51:23 [notice] 1#1: nginx/1.31.5
Sep 05 17:51:23 betelgeuse nginx[2792]: 2026/09/05 15:51:23 [notice] 1#1: built by gcc 15.2.0 (Alpine 15.2.0)
Sep 05 17:51:23 betelgeuse nginx[2792]: 2026/09/05 15:51:23 [notice] 1#1: OS: Linux 6.18.39+rpt-rpi-2712
Sep 05 17:51:23 betelgeuse nginx[2792]: 2026/09/05 15:51:23 [notice] 1#1: getrlimit(RLIMIT_NOFILE): 524288:524288
Sep 05 17:51:23 betelgeuse nginx[2792]: 2026/09/05 15:51:23 [notice] 1#1: start worker processes
Sep 05 17:51:23 betelgeuse nginx[2792]: 2026/09/05 15:51:23 [notice] 1#1: start worker process 25
Sep 05 17:51:23 betelgeuse nginx[2792]: 2026/09/05 15:51:23 [notice] 1#1: start worker process 26
Sep 05 17:51:23 betelgeuse nginx[2792]: 2026/09/05 15:51:23 [notice] 1#1: start worker process 27
Sep 05 17:51:23 betelgeuse nginx[2792]: 2026/09/05 15:51:23 [notice] 1#1: start worker process 28The service is now running. Before testing a reboot, I enable the service so that systemd starts it automatically:
systemctl --user enable nginx.serviceI can then reboot the Pi and check whether the container starts without an active SSH session:
sudo reboot
When I first tested this, the container did not start automatically. However, after I logged in over SSH and ran podman ps, Nginx started working. When I logged out, it stopped again. This indicated that the container was tied to my SSH session.
Because this is a rootless service managed with systemctl –user, the user-level systemd manager normally runs only while the user has an active session. To keep the service running after logout, I need to enable systemd lingering for the user. Linger allows user services to continue running without an active login session.
sudo loginctl enable-linger shuttle
loginctl show-user shuttle -p LingerLinger=yesAfter enabling linger, I can reboot the Pi and verify that the Nginx container is running without logging in first.
At this stage, the Raspberry Pi is serving Nginx on the local network, and the container starts automatically through a rootless Quadlet service. That gives me a small but reliable foundation for hosting applications at home.
The server is not publicly accessible yet. Before exposing it to the internet, I still need to consider authentication, HTTPS, firewall rules, monitoring, backups, and keeping the operating system and containers up to date. A service that works on a home network should not be exposed publicly without addressing these concerns.
In the next part, I’ll use a Cloudflare Tunnel and a domain name to make the application available from the internet without directly exposing the Pi to inbound traffic. That will be the next step in turning this small home server into a practical hosting platform.
For now, the important milestone is complete: I have a Raspberry Pi running a containerised web server that can recover from reboots and continue running without an active SSH session.
Have thoughts, questions, or suggestions? I’d love to hear them.